


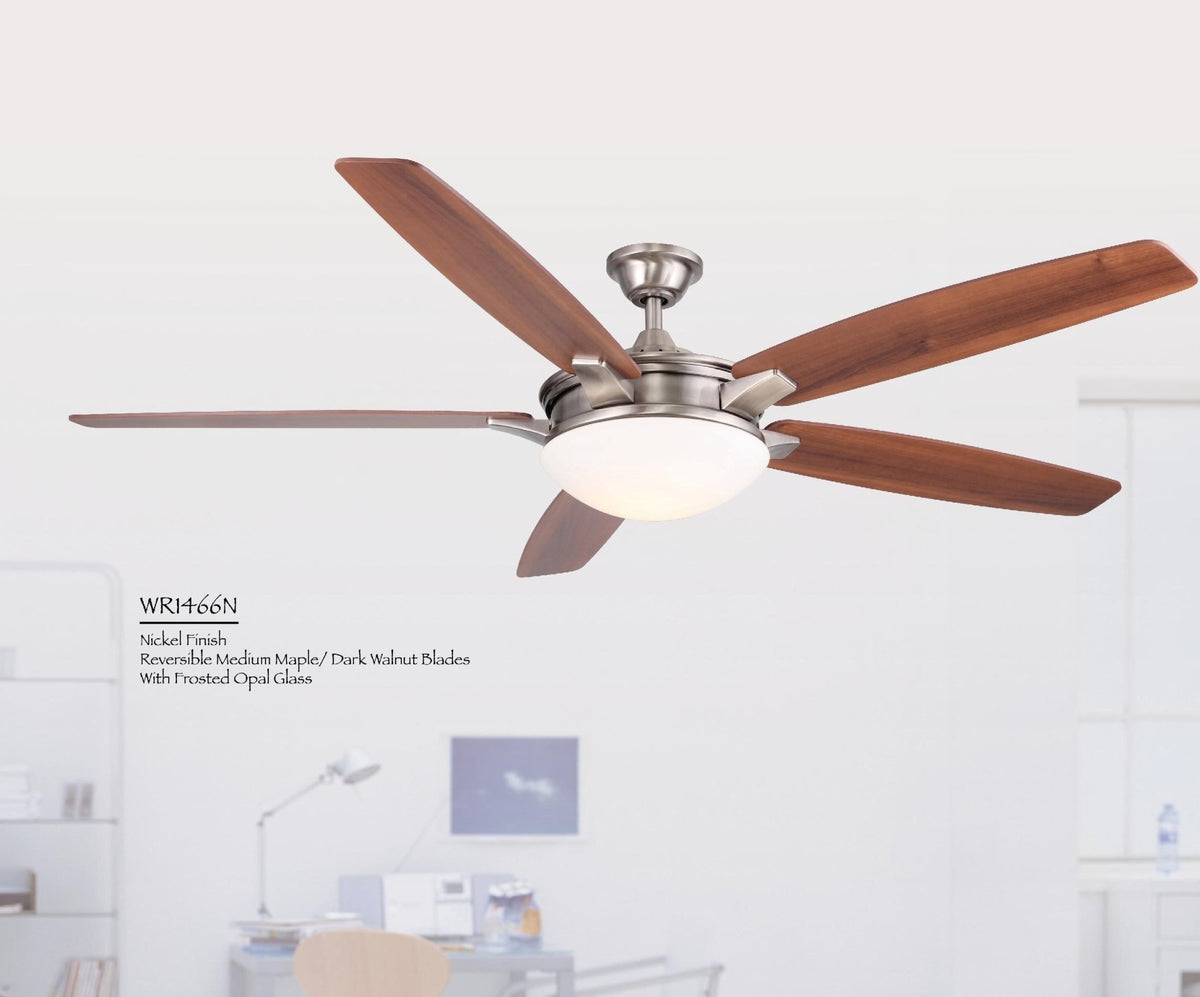
recent articles
- How many blades should your ceiling fan have?
- How far should recessed lights be from a ceiling fan?
- How to make a ceiling fan light brighter
- How to install a ceiling fan remote
- Everything you need to know about ceiling fan light kits
- AC Vs. DC Ceiling Fans: Which One Is Right For You?
- Choosing The Right Blade Material For Your Ceiling Fan: Factors To Consider
- Efficient Fan Usage: Tips For Using Ceiling Fans To Supplement Your HVAC System
- Energy-Efficient Cooling: Exploring The Advantages Of DC Motor Ceiling Fans
- Choosing The Right Ceiling Fan: A Comprehensive Buyer's Guide
- 5 Fan-Tastic Ways To Maximize Your Fan’s Efficiency
- Mastering the Art of Uninstalling a Ceiling Fan: A Step-by-Step Guide
- Enhancing Comfort: Mastering Wall Fan Sizing and Positioning
- Ceiling Fans Vs. Air Conditioners: Pros And Cons For Different Situations
- Bladeless Ceiling Fans : The Future of Home Cooling
- Misting Fan Buying Guide
- What Is CFM in a Ceiling Fan?
- Which direction should my Ceiling Fan spin in Winter?
- The Matthews Fan Company Story
- What Size Ceiling Fan Do I Need
 March 15, 2024
Enhancing Comfort: Mastering Wall Fan Sizing and Positioning
Achieving the ideal ambient temperature and air quality in our living spaces is a quest for comfort that often hinges on the strategic placement and sizing of wall fans. Whether combating the sweltering heat of summer or promoting year-round airflow, understanding the nuances of fan placement and sizing is essential. This comprehensive guide explores the intricacies of how to position fans to cool room wall fans for optimal air circulation, ensuring a cool and comfortable environment tailored to your needs.

Assessing Room Size
The initial step in selecting an appropriate wall fan is to accurately assess the dimensions of the room it will serve. The size of the room directly influences the airflow requirements of the fan. For smaller spaces, a fan with lower airflow capacity may suffice, while larger areas demand fans with higher airflow capabilities. To ascertain the room's size, multiply its length by its width, yielding the square footage. It will help with fan placement for optimal air circulation.
Calculating Required Airflow (CFM). Where to Place Fans to Cool a Room
Once the room size is determined, calculating the required airflow, measured in cubic feet per minute (CFM), is important. When it comes to asking where to place a fan in the room, our general guideline suggests aiming for 10 CFM for every square foot. For example, in a room that is 20 x 20 (400 square feet), we recommend a Ceiling Fan CFM of 4000 (see here https://www.todaysfans.com/blogs/blog/what-is-cfm-in-a-ceiling-fan). However, this is usually not relevant for wall fans as they are meant to provide airflow to a specific spot or area within a room and the required CFM is a lot less. That being said, a wall fan should have a CFM between 800–1500 in order to provide the desired effect. It should be noted that industrial-level fans can have an airflow reaching 5000–9000 CFM.
What Size Fan Do I Need for My Room
Now we'll answer the question “What size fan do I need for my room?”. The next step is to select the appropriate fan size. Wall fans come in various sizes, typically ranging from 24 to 36 inches in diameter. By referencing the CFM requirement, choose a fan with a corresponding airflow rating that meets or exceeds the calculated value. Overlooking this step could result in an undersized fan struggling to provide adequate air circulation, or an oversized fan leading to excessive airflow and noise.
Where to Place Fan in Room. Best Fan Placement to Cool a Room
The placement of the wall fan within the room significantly impacts its effectiveness in circulating air. The best fan placement to cool a room entails positioning the fan centrally on a wall, allowing for unobstructed airflow throughout the room. Avoid placing the fan too close to corners or obstacles, as this may impede airflow and diminish its cooling effect. Additionally, mount the fan at a height that maximizes air distribution, typically around 7 to 9 feet above the floor.
Height and Angle Adjustment
Fine-tuning the height and angle of the wall fan further optimizes its performance. Experiment with different angles to find the optimal position that promotes even air distribution across the room. Ensure that the fan blades are positioned parallel to the floor for maximum airflow efficiency. Regularly check and adjust the fan's height and angle as needed to maintain optimal air circulation and comfort.
Maintenance and Cleaning Tips
To extend the lifespan and efficiency of your wall fan, regular maintenance and cleaning are imperative. Periodically dust the fan blades and grille to prevent dust buildup, which can impede airflow and strain the motor. Inspect the fan for signs of wear or damage, such as loose screws or abnormal noise, and address them promptly. Lubricate the fan motor bearings as recommended by the manufacturer to ensure smooth operation and longevity.

How to Properly Install a Wall-Mounted Fan: Comprehensive Step-by-Step Guide
Embarking on the journey of installing a wall-mounted fan entails a systematic approach to ensure optimal performance and safety. Below, we outline a detailed step-by-step procedure for mounting your wall fan securely and efficiently:
- Begin by positioning the rear guard over the motor shaft, ensuring perfect alignment of the notches, and securing it in place using the locking nut. This step sets the foundation for the fan assembly.
- Next, carefully place the fan blade onto the motor shaft, aligning it with the flat portion, and fasten the blade cap by rotating it in a counterclockwise direction. This ensures a secure attachment of the fan blade to the motor shaft, essential for smooth operation.
- Secure the front guard's center hook to the middle of the rear guard, ensuring a snug fit between the guards. This step further reinforces the structural integrity of the fan assembly.
- Proceed to bring the guards together, ensuring they lock into place securely. Confirm the stability of the assembly before proceeding to the next step.
- To enhance safety measures, firmly secure the locking clip, providing an additional layer of protection against accidental disassembly.
- As an additional precautionary step, ensure the locking of the guard bottom nuts and screws, further fortifying the integrity of the fan assembly.
- Before proceeding with the installation, locate or fix a stud on the wall where the fan will be mounted. This ensures a stable foundation for the fan and minimizes the risk of instability.
- With the mounting plate securely positioned, affix the wall fan mounting bracket to the fan's plate, ensuring a firm and stable connection between the components.
- Choose a suitable location for the wall fan bracket on the wall, preferably in proximity to an electrical outlet for a convenient power supply. Securely attach the bracket to the wall, ensuring it is level and stable.
- Finally, carefully insert the wall fan onto the bracket by aligning the notch at the back of the fan base with the bracket. Confirm that the fan is securely mounted on the bracket to prevent any instability or displacement.
By following these comprehensive steps, you can ensure the proper installation of your wall-mounted fan, promoting optimal performance, safety, and longevity.
Conclusion
In conclusion, mastering how to position fans to cool a room is crucial for creating a comfortable living space with optimal airflow. By understanding the principles of fan placement for optimal air circulation and knowing the best way to set up fans in a room, you can effectively regulate temperature and promote a refreshing atmosphere throughout your home. Remember, the best place to put a fan to cool a room is centrally on a wall, ensuring unobstructed airflow and maximizing its cooling effect. With these strategies in mind, you can achieve the ideal balance of comfort and efficiency, making your living space a haven from the heat.
For further fan options and more information about how to place fans in a room, explore Today's Fans' collections of ceiling fans, indoor fans, and outdoor damp fans.

Still have questions?
 March 15, 2024

0


Anastasia Bieloborodko